
Guide content
Samarth Portal Registration 2026: Student Login, Admission Process, Application Form & Registration Guide
Source content: Samarth Portal Registration 2026_ Student Login, Admission Process, Application Form & Registration Guide.docx
What Is Samarth Portal Registration?
Samarth portal registration is the process students use to create an account for admission and academic services.
After successful registration, students receive:
- student login access
- registration number
- application ID
- admission dashboard access
- The registration system connects students with:
- Admission Portal
- Student Login Portal
- Fee Portal
- Hall Ticket
- Result
- Grievance Portal
- Digital Certificates
through one student account.
That is why registration becomes the first and most important step before admission.
Why Is Samarth Portal Registration Important?
Without registration, students usually cannot:
- submit admission forms
- access student login
- complete fee payment
- download hall tickets
- check results
- use grievance services
The portal uses registration details to create student records connected with academic services.
Because everything stays linked digitally, students should enter registration details carefully during account creation.
One small mistake in name spelling or mobile number can create unnecessary problems later.
How Does Samarth Portal Registration Work?
Most universities follow a similar online registration process through the samarth admission portal.
Students usually complete:
- account creation
- mobile verification
- personal details
- academic details
- document upload
- fee payment
- final submission
- After submission, the portal generates:
- registration number
- application ID
- login credentials
for future student access.
How to Complete Samarth Portal Registration?
Step 1: Open Samarth Admission Portal
Students should open the official university admission portal connected with the samarth portal system.
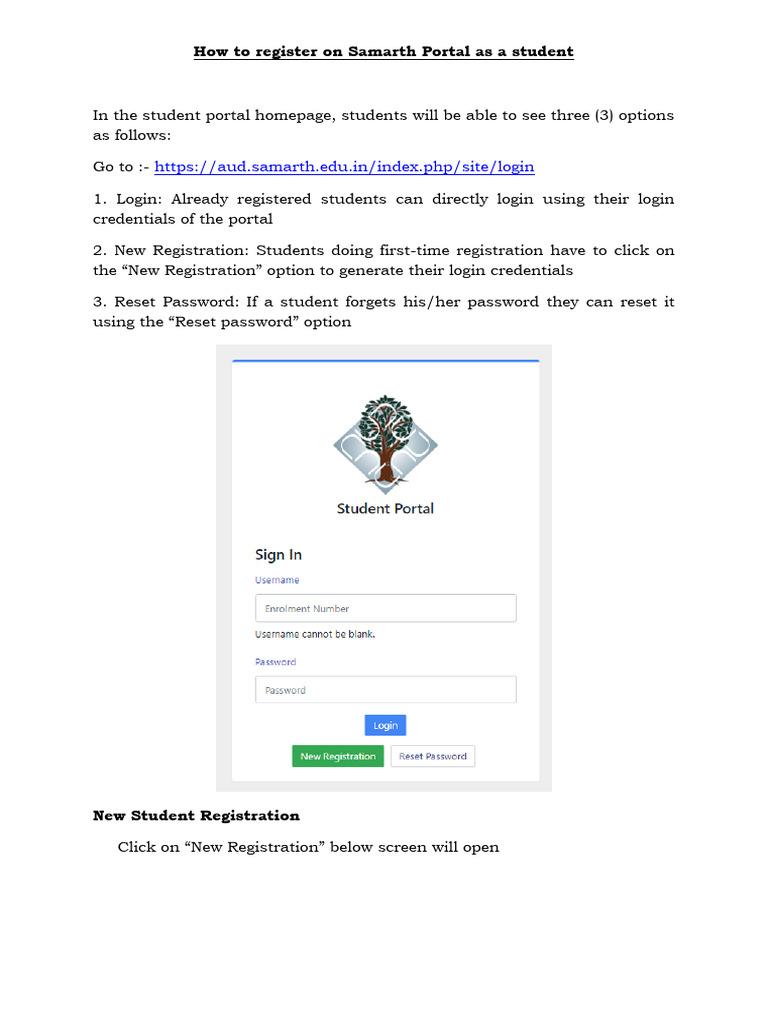
The homepage usually shows:
New Registration
Student Login
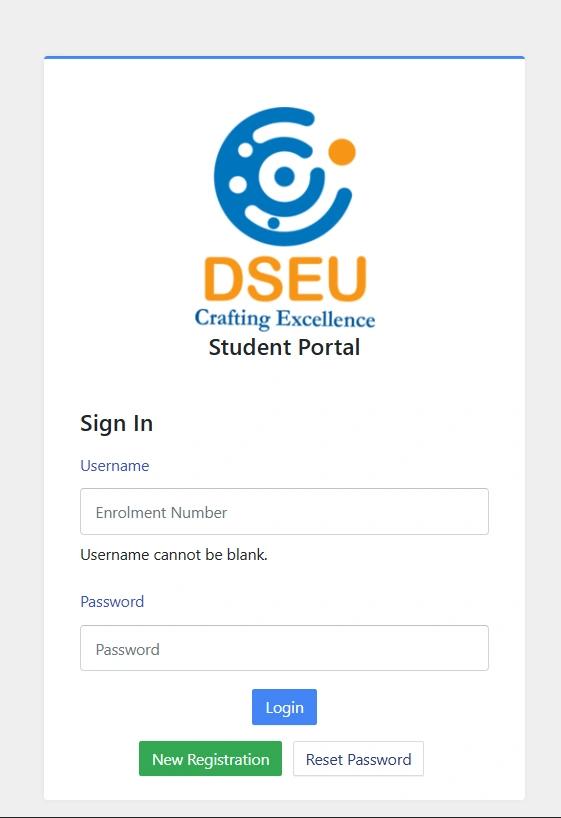
Admission Portal
Forgot Password
sections.
Step 2: Create Student Account
Students usually enter:
- full name
- mobile number
- email ID
- date of birth
- password
during registration.
Students should always use an active mobile number because OTP verification may be required later.
Step 3: Complete OTP Verification
Some universities send OTP codes through:
- SMS
- email verification
before account activation.
Students should verify details carefully before proceeding.
Step 4: Fill Personal and Academic Details
The registration form may ask for:
- address
- category
- qualification details
- marks information
- board or university details
Students should match details exactly with academic documents.
Step 5: Upload Required Documents
Students commonly upload:
- Aadhaar card
- marksheets
- passport-size photo
- signature
- category certificate
Large file sizes or blurry documents may fail verification later.
Step 6: Submit Application Form
After completing all sections, students can submit the registration form and save:
- application number
- registration ID
- login credentials
carefully.
Some students skip saving details and later spend half the day searching old screenshots like detectives.
What Documents Are Required for Samarth Portal Registration?
Most universities ask students to prepare documents before registration starts.
Common documents include:
- Aadhaar card
- class 10 marksheet
- class 12 marksheet
- graduation marksheet
- passport-size photograph
- scanned signature
- category certificate
- migration certificate
depending on the course and university requirements.
Students should also check:
- image size
- document format
- upload instructions
before submission.
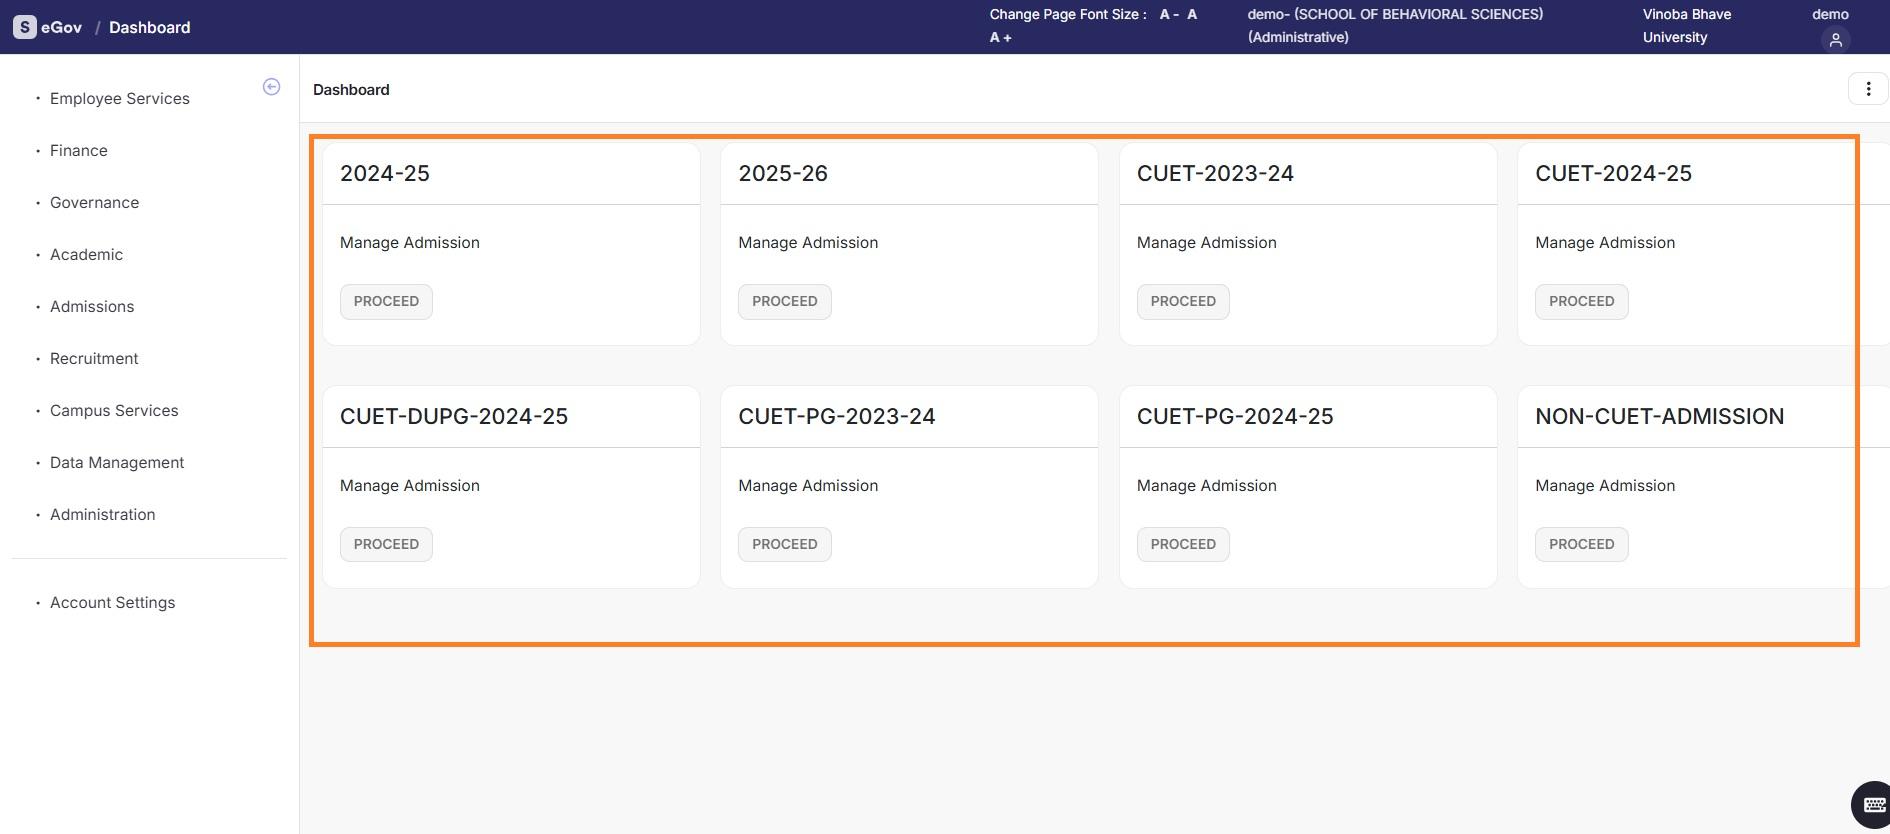
Samarth Student Portal After Registration
After successful registration, students receive access to the samarth student portal dashboard.
The dashboard usually contains:
- Admission Portal
- Student Login Portal
- Hall Ticket
- Result
- Fee Portal
- Grievance Portal
- Exam Form
- Digital Certificates
Some universities also provide:
- Hostel Admission
- Training & Placement
- Employee Login
- SOP documents
inside the same portal structure.
What Can Students Do After Registration?
Students commonly use the portal for:
- admission tracking
- examination forms
- fee payment
- hall ticket download
- result checking
- grievance submission
- document verification
Because all services remain connected through one account, students should keep login details safe after registration.
- Samarth Portal Registration Problems and Solutions
Registration issues are common during admission season because thousands of students access the portal together.
Common problems include:
- OTP not received
- form not submitting
- upload failed
- server timeout
- payment pending
- invalid document format
Most issues can be fixed easily with proper steps.
How to Fix Samarth Portal Registration Issues?
Step 1: Verify Mobile Number and Email
Students should carefully check:
- mobile number
- email ID
- internet connection
before requesting OTP again.
Step 2: Compress Large Documents
Large image files often fail during upload.
Students should:
- reduce file size
- use clear scanned copies
- upload supported formats
Step 3: Save Draft Regularly
If the portal allows draft saving, students should save progress regularly during registration.
This helps avoid losing information during:
- internet disconnection
- browser refresh
- server errors
Step 4: Avoid Last-Date Registration
Admission deadlines create heavy portal traffic.
Students should complete registration early instead of waiting until the final day.
The “I still have time†plan usually becomes dangerous very quickly.
Samarth Portal Fee Payment During Registration
Many universities ask students to complete fee payment during admission registration.
Students usually pay:
- registration fee
- admission fee
- application fee
- semester fee
through online payment systems.
The fee dashboard may provide:
- payment history
- transaction details
- receipt download
inside the student account.
How to Fix Registration Fee Payment Problems?
Step 1: Wait After Transaction
Portal updates may take time after payment completion.
Step 2: Check Payment History
Students should verify:
- payment status
- receipt section
- transaction history
inside the dashboard.
Step 3: Avoid Repeated Payments
Students should avoid making multiple payments immediately if the portal shows pending status temporarily.
Step 4: Save Receipts
Students should always save:
- screenshots
- receipts
- payment IDs
after successful payment.
That small screenshot becomes very important later when payment problems appear unexpectedly.
Samarth Admission Portal Registration Tips
Students should follow a few simple steps before registration:
- keep documents ready
- use stable internet
- verify details carefully
- save login credentials
- complete registration early
These small steps help students avoid unnecessary portal problems later.
Many students rush during final submission and forget to review details carefully. Then correction requests start appearing immediately after submission.
Frequently Asked Questions
How Can Students Complete Samarth Portal Registration?
Students can complete registration by entering personal details, academic records, uploading documents, and submitting the application form online.
What Documents Are Required for Registration?
Most universities ask for:
- Aadhaar card
- marksheets
- passport-size photo
- signature
- category certificate
What Happens After Successful Registration?
- login credentials
- registration number
- application ID
for future portal access.
How Can Students Fix Registration Problems?
Students can fix most issues by:
- verifying mobile number
- reducing document size
- clearing browser cache
- checking payment history
Related guides
External official link
Open official sources only for forms, payments, results, and final confirmation.
Visit Official Samarth Portal